So, I have been tinkering with focaccia formulae forever, and what I have come to is this: they taste better (and the texture is better) when made with predominately white flour. I will tell you, I have made quite a few with varying amounts of whole grain as well as types, and sundry methods/fermentation times. Those with larger amounts of whole grain always arrive tough or chewy and compressed. It's a good thing I have no aversion to white flour, indeed sometimes nothing but a white flour loaf will satisfy. In this case, it really makes a glorious bread.

I also employed a little semolina and durum rimacinato because I like the sweetness/nuttiness and tenderness that it contributes to our breads. Plus, durum is just that grain that you think of as Italian, so, why not use it in focaccia.
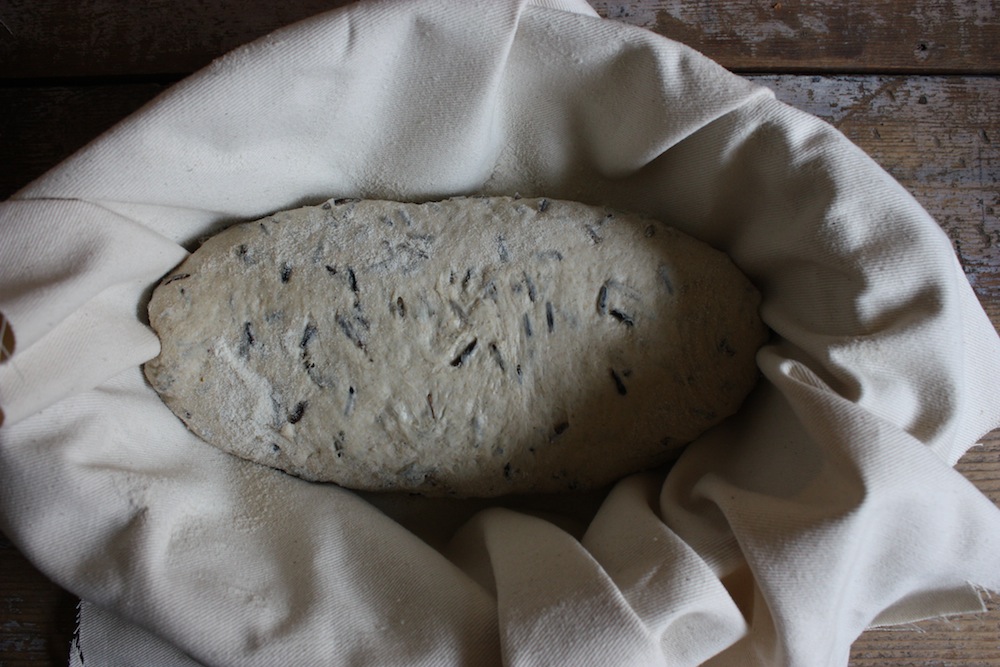
I futzed around with fermentation times this past week, and arrived at the following: 18 hours is too long. It makes for a more acidic focaccia, 8 hours didn't develop the flavor as much as I wanted it to, and 12 hours seemed to be just right. 10 might work as well, in terms of reduced acid and flavor development, so you might try that. What you see here is a 12 hour ferment.

I also tried experimenting with a free form thing, a cast iron loaf, and ended up happiest using a standard 9-inch cake pan. A little smaller in circumference than my cast, but the sides are higher which is necessary. With this amount of dough, you really need the extra height to contain it. It might work in a cast if you cut off about 25% (perhaps toss this extra bit in a smaller pan or bake it free-form). I may have to give this a try. But it indeed developed a fabulously crisp crust, which I was afraid I would have to sacrifice using a cake pan. I'm sure the efforts of the olive oil contributed to the development of such a rich and crisp crust here. One word of caution: line the sides of the pan with a ring of parchment. I did not (thankfully I lined the bottom with it) and it ended up sticking. I was able to successfully loosen it with a thin blade run along the inside of it, but it took some doing. Next time, I will definitely reach for the paper.

Given that the virtues of white flour are relied upon in this focaccia, I used none other than Giusto's Artisan flour. I've tried several of Giusto's styles of flour and this is my absolute favorite (their 00 is nonpareil for pizza dough and pasta). You can only buy it online from their website, and if you do go about this, purchase a case. Trust me. It makes for the best artisan bread, ever. Super crisp crust with excellent caramelization (think: blisters), and a good gelatinous crumb with a fantastic creamy flavor. I still remember the first loaf I made with the stuff.

The use of the whole onion as an enhancement was borrowed from a pin I saw on pinterest. The photo was of a farmer's market stall in Sweden. A table was piled high with a sundry of breads, and a group of lovely whole-onion focaccia caught my eye. Blurred and in the corner of the photo though they were, elbowed by the hundred other loaves surrounding them, they were dazzling. The hand-scrawled chalkboard tablet in front of a queue of the loaves announcing the variety was written in Swedish, so I decided to borrow the essence and make up the rest.

LEVAIN DAY
10g 100% hydration starter of your choice
75g h2o
75g freshly ground hard red wheat flour (you can also use 75g rimacinato - double milled - durum wheat flour, which I used in another experimental focaccia and it came out beautifully. In that case, use about 82g of water when you mix up your levain. For this loaf's levain, I used whole wheat flour)
Mix up the above. Ferment. Mine fermented for 8.5 hours.


To the staff of life!
I also employed a little semolina and durum rimacinato because I like the sweetness/nuttiness and tenderness that it contributes to our breads. Plus, durum is just that grain that you think of as Italian, so, why not use it in focaccia.
I futzed around with fermentation times this past week, and arrived at the following: 18 hours is too long. It makes for a more acidic focaccia, 8 hours didn't develop the flavor as much as I wanted it to, and 12 hours seemed to be just right. 10 might work as well, in terms of reduced acid and flavor development, so you might try that. What you see here is a 12 hour ferment.
I also tried experimenting with a free form thing, a cast iron loaf, and ended up happiest using a standard 9-inch cake pan. A little smaller in circumference than my cast, but the sides are higher which is necessary. With this amount of dough, you really need the extra height to contain it. It might work in a cast if you cut off about 25% (perhaps toss this extra bit in a smaller pan or bake it free-form). I may have to give this a try. But it indeed developed a fabulously crisp crust, which I was afraid I would have to sacrifice using a cake pan. I'm sure the efforts of the olive oil contributed to the development of such a rich and crisp crust here. One word of caution: line the sides of the pan with a ring of parchment. I did not (thankfully I lined the bottom with it) and it ended up sticking. I was able to successfully loosen it with a thin blade run along the inside of it, but it took some doing. Next time, I will definitely reach for the paper.
The use of the whole onion as an enhancement was borrowed from a pin I saw on pinterest. The photo was of a farmer's market stall in Sweden. A table was piled high with a sundry of breads, and a group of lovely whole-onion focaccia caught my eye. Blurred and in the corner of the photo though they were, elbowed by the hundred other loaves surrounding them, they were dazzling. The hand-scrawled chalkboard tablet in front of a queue of the loaves announcing the variety was written in Swedish, so I decided to borrow the essence and make up the rest.
On a final note, you will try your hand (no pun intended; read on...) at our latest steam contraption with this bread, that is to say a pile of lava rocks in a pan growing almost molten on the oven floor with a goodly amount of ice water heaved onto them once the dough has been loaded. An admonishing word: arm yourself with a long nose lighter. If your oven is as shabby as mine, the initial blast of steam will likely blow out the pilot light, and since mine is in the back of the broiler, well, you can imagine how daunting it is to shove your hand into some narrow 550 degree nether region to relight the thing. Heart. Goes. Pounding.
Without further ado, I give you the focaccia that damn near claimed my hand.
Focaccia Pericoloso
LEVAIN DAY
Three days before you plan to make your levain, throw your starter into overdrive by feeding it three or four times each day. On the fourth day, build your levain by mixing up the following:
10g 100% hydration starter of your choice
75g h2o
75g freshly ground hard red wheat flour (you can also use 75g rimacinato - double milled - durum wheat flour, which I used in another experimental focaccia and it came out beautifully. In that case, use about 82g of water when you mix up your levain. For this loaf's levain, I used whole wheat flour)
Mix up the above. Ferment. Mine fermented for 8.5 hours.
DOUGH DAY
You will need:
All of the levain
50g freshly milled durum, milled to rimacinto
50g freshly milled durum, milled to semolina
400g Giusto's Artisan flour
380g h2o
20g good olive oil, I used California Olive Ranch
12g salt
1 good-sized sprig of fresh rosemary
1 spring onion
When the levain is at its peak, mix it with the flour and h2o until you reach a shaggy mass. Autolyse for 1.5 hours (an hour will suffice, the only reason I autolysed for this long is because my morning errands took longer than I thought they would, and I post all my formulae with absolutely no embellishments or tailoring).
After the autolyse, chop your rosemary leaves, medium-fine should suffice. Squish the salt, olive oil and rosemary into the dough until thoroughly amalgamated.
Now time for your 4-hour bulk fermentation.
Just before your first series of turns, thinly slice one of the onions, mine was about 50g (reserve the other whole onion for use tomorrow on bake day). At the first turn, sprinkle the onions over the dough and turn as you normally would. With each succession, they will distribute throughout the dough.
You will not perform turns through the entire 4-hour bulk, instead, you will intuitively know when it is time to stop by the rate of the dough's expansion. I stopped my turns at 3 hours, left it be at room temp for another half hour, then popped the dough in the fridge for the remaining half our of bulk because it was really warm in L.A.
After the bulk fermentation, scrape the dough onto a worktable that you have smeared with good olive oil, gather it into a loose round and let it rest for about 10 or 15 minutes. Meanwhile, with a very small amount of olive oil, oil the sides and bottom of a cake pan with a removable bottom (9" wide, measured on the inside x 3" deep); fit with a circle of parchment along the bottom and a ring of the stuff around the sides. The olive oil will hold it in place. Now, once you've got it installed, oil the face of the parchment as well.
Pop the dough into the pan, gently spreading out to the sides of it. Drizzle a small amount of oil over the top and smear it a bit. Cover with a plate and refrigerate for 10 - 12 hours, mine went for 12.
BAKE DAY
You will need:
1 spring onion in good shape
A few pinches of good salt, for instance fleur de sel
About 2 teaspoons of your really fine olive oil
One hour before you plan to bake the bread, preheat the oven to 550 degrees, installed with a baking stone and a pot filled with lava rocks (this should be place on the floor of the oven). Remove the dough from the fridge now too.
Now, neatly slice up your remaining onion so that you arrive at 1/4" thick cross sections that include some of the green top. Arrange over the top of the dough in some comely fashion, pressing them down into the dough gingerly, you don't want to deflate it, but if you don't sort of embed them, they will float right off of the dough during oven spring. Keep the dough even, meaning, don't press down really hard over the bulb of the onion and leave the other half unpatted or your focaccia will bake up flat at the bottom bulb half, and remain lofty at the top. I scatted some slivered onion over the rest of the dough as well, patting them into the dough gently.
Leave the dough rest at room temp during this hour of oven preheat to regain its shape.
When you are ready to bake, fill up a 4 cup measure with a full tray of ice cubes and top with water. Set aside.
Sprinkle the face of the dough with the fleur de sel and drizzle with the olive oil, spreading it a bit so that the surface takes on a golden sheen. Slide the focaccia onto the stone, then pull out the pot of lava rocks a bit and pour the ice water over the rocks. Quickly slide the pot back into the oven and steam for 10 minutes at 500 degrees.
NOTE: Here is where you want to check your pilot light, and pray, figure out how to light it before employing this steam method. You have to light it quickly if it goes out on you, no time to be surfing the net looking for you particular oven's instructions, all the while, your dying loaf...
Carrying on.
After 10 minutes, turn the oven down to 475 degrees and steam for 10 minutes more for a total of 20 minutes steam. After the steam, remove the lava pot from the oven and bake out till the loaf has properly browned, spinning it now and again for even heating. Mine took a total of 55 minutes, but rely on your thermometer, taking it to 210 degrees. You may need to lower the head to 450 for the last 10 minutes of cooking so that it does not burn.
(I never bake without my trusty Thermopen, 5 degrees really can make a difference between perfectly baked and a bit underbaked, and unpleasantly so. Speaking of, better to air on the side of greater than 210 degrees than less).
Cool the loaf for about 15 minutes on a wire rack before turning it out of the pan and cooling for a further hour. You should not have an issue with sticking, but if you did not line the sides of the pan and the focaccia refuses to release, run a thin blade along the sides of the loaf then carefully push the removable bottom upwards to release it (using oven mits, of course). I pray to goodness that you in the very least parchmented the bottom of the pan.
To the staff of life!